Painting furniture properly: prep, primer and a finish that lasts
The unglamorous steps that make a chalk-painted chest of drawers survive daily use.
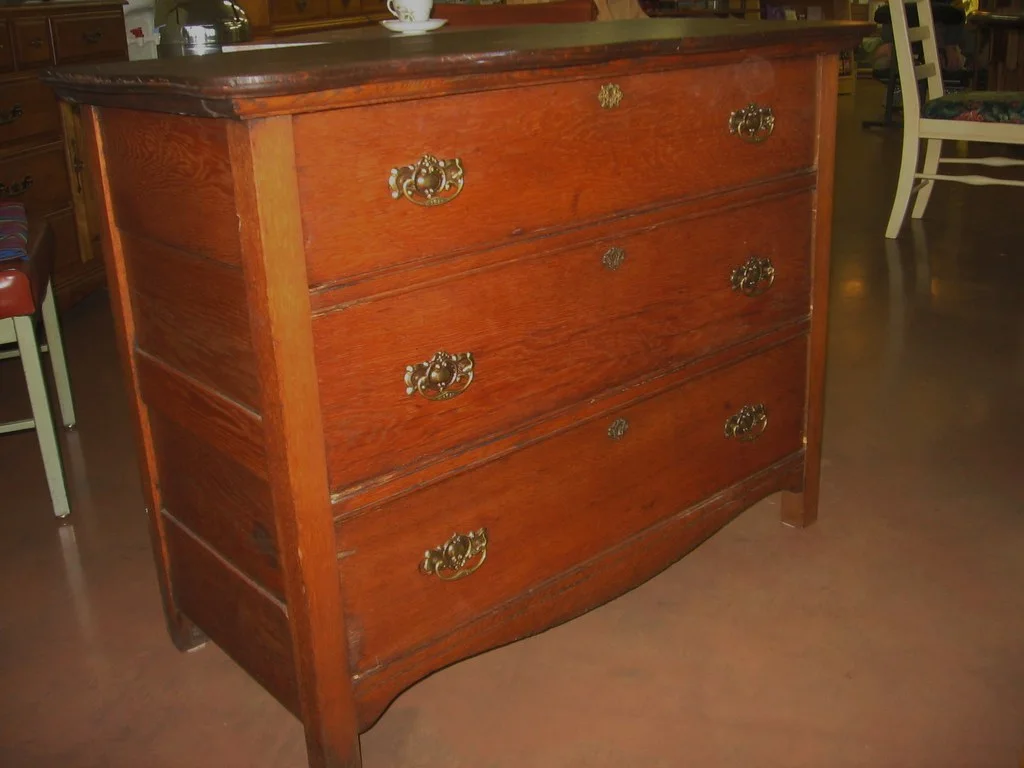
The paint takes an afternoon. The prep takes another. Skip the prep and the paint will let you know within a month.
1. Clean
Sugar soap or a degreaser, then rinse. Old furniture carries decades of polish and hand oils that repel paint.
2. Repair
Fill chips and old handle holes with wood filler, sand flush. Tighten joints with wood glue. Remove hardware.
3. Sand
A light scuff sand with 120–180 grit is enough to give the paint a key. Shiny laminate or varnish needs more attention: sand to dull, or use an adhesion primer.
4. Prime where it matters
Bare wood with knots, red-toned woods like mahogany, and anything previously stained will bleed through pale paint. A shellac-based or stain-blocking primer stops it. Chalk paint's "no prep" claim is fine for a cottage look; it's not fine for a white finish on old pine.
5. Paint
Two or three thin coats beat one thick one. Use a good synthetic brush or a small foam roller, and paint in the direction of the grain. Let each coat dry fully.
6. Protect
Chalk and mineral paints need a top coat: wax for a soft matt finish on decorative pieces, water-based polyurethane or polyvanish for anything that gets used, like a tabletop or drawer fronts. Two to three coats.
Hardware
New handles change everything. Cup pulls for drawers, a brass knob for a cupboard, or clean and lacquer the originals.
Ideas
- Two-tone: painted body, sanded and oiled top.
- Line drawers with wallpaper offcuts.
- Add legs to a low chest for a mid-century feel.
Post a before and after; that's the whole point of upcycling.
0 comments
Log in to join the conversation.