Whittling your first spoon: tools, wood and safe cuts
A green-wood spoon with just a knife, a hook knife and a branch from the garden.
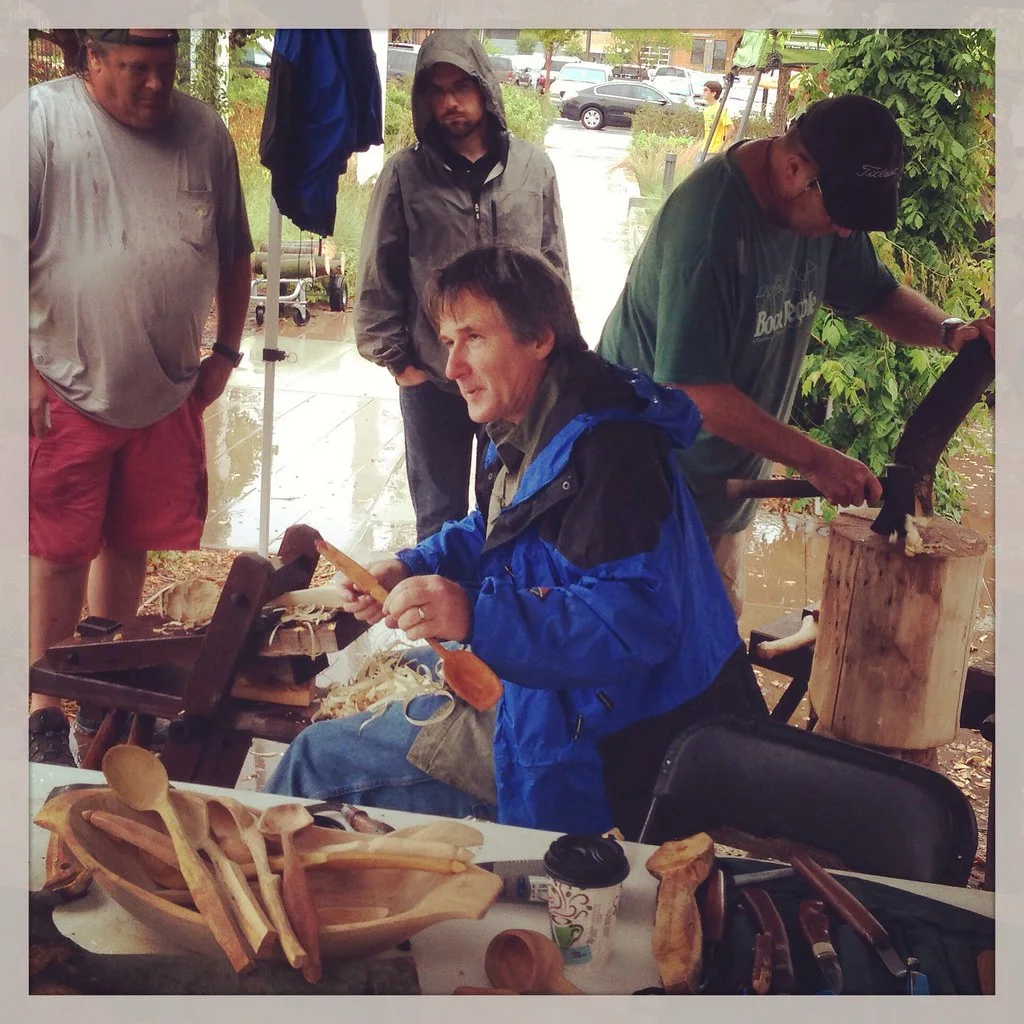
Spoon carving needs a knife, a hook knife and a stick. It's the most accessible woodwork there is, and a finished spoon is a genuinely useful object.
Wood
Green (freshly cut) wood carves like cheese; dry wood is hard work. Birch, sycamore, cherry, apple and hazel are all excellent. Avoid oak (tannins) and yew (toxic). A branch about 6cm across is ideal.
Tools
- A sloyd knife (a fixed blade with a slightly curved edge).
- A hook knife for the bowl.
- A folding saw and, ideally, a small axe for roughing out.
- A cut-resistant glove on the hand holding the wood.
Roughing out
Split the branch down the middle. Draw a spoon shape on the flat face with the bowl at the thicker end. Saw stop-cuts at the neck and axe or knife away the bulk, keeping well outside your line.
Knife grips
- Push cut: blade away from you, thumb of the other hand pushing the back of the blade. Controlled, safe.
- Pull cut: blade towards your chest, elbows locked to your sides so it can't reach you.
- Thumb pivot: for the neck curve, using your thumb as a brace on the back of the blade.
Never carve towards a body part with no stop between blade and skin.
The bowl
Hook knife across the grain, from the rim toward the centre, in two halves. Aim for a wall thickness of about 3–4mm at the rim.
Finishing
Let the spoon dry for a week, then take fine finishing cuts for a faceted, tooled surface (sanding isn't needed). Oil with food-safe walnut or linseed oil.
Post your spoon with the branch it came from. Everyone's first is a bit thick. That's fine.
0 comments
Log in to join the conversation.