Polymer clay earrings: conditioning, slab building and a clean finish
The tips that separate professional-looking clay earrings from lumpy ones: conditioning, dust, baking and sanding.
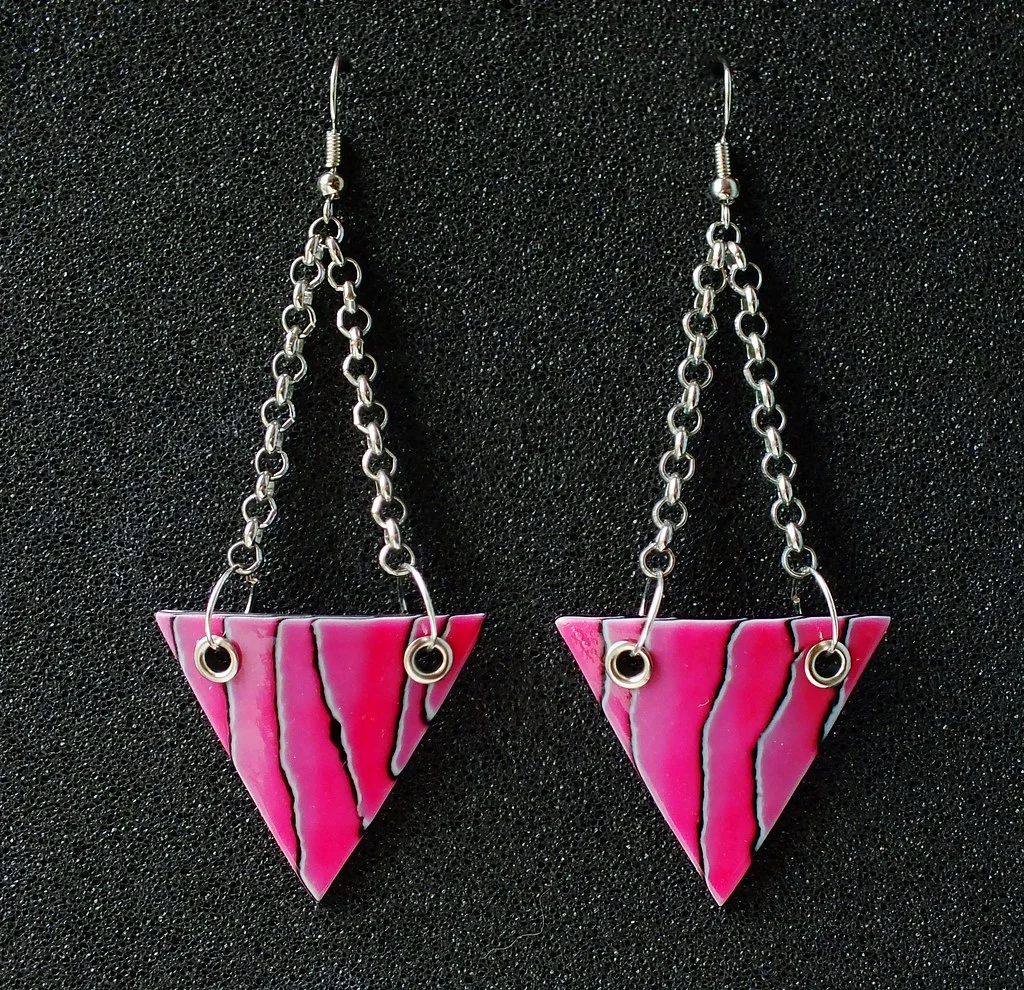
Polymer clay earrings are everywhere and for good reason: cheap materials, quick results, endless colour. The difference between good and great is all in the handling.
Condition properly
Knead each colour until it's soft and bends without cracking. A pasta machine dedicated to clay makes this fast and gives perfectly even slabs. Mix custom colours by blending; note the ratios.
Keep it clean
Dust and lint are the enemy. Work on a ceramic tile, wipe hands with baby wipes between colours (lightest to darkest), and cover the clay when you're not using it.
Slab building
Roll a slab on the thickest pasta setting. Add stripes, dots, marbling or a skinner blend (gradient). Lay the slab on your tile and cut shapes with sharp clay cutters, pressing straight down. Pierce holes with a needle tool before baking.
Baking
Bake on the tile in the oven at the temperature on the packet (usually 130°C) for at least 30 minutes; under-baked clay is brittle. Use an oven thermometer. Tent with foil to prevent scorching. Baking longer at the right temperature is fine; hotter is not.
Finishing
Sand edges with wet 400 then 800 grit paper for glass-smooth sides. Buff with denim. Add findings with jump rings, and attach posts with strong two-part epoxy, not superglue.
Design ideas
- Terrazzo: chop scraps into a white slab.
- Arches and dangles in two tones.
- Faux stone with translucent clay and a dusting of pigment.
Photograph a pair on a plain background in daylight and post.
0 comments
Log in to join the conversation.