Hand-building with clay: pinch pots, coils and slabs before you ever touch a wheel
Three hand-building methods, how to join clay properly, and what happens at the kiln.
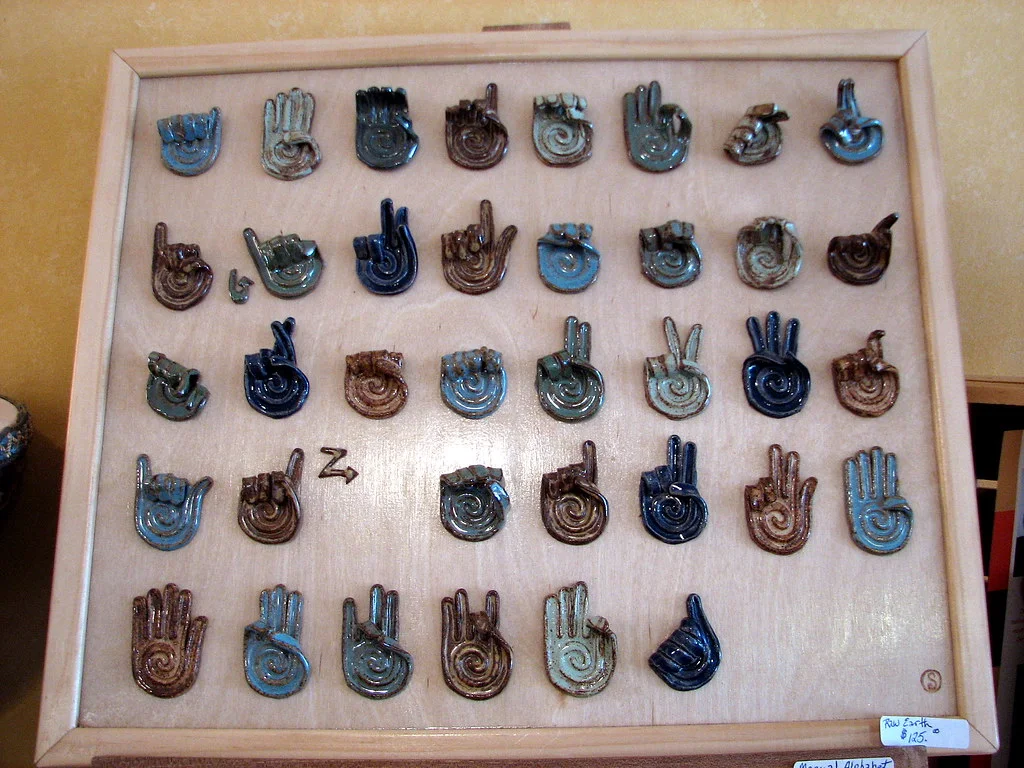
Everyone wants to throw on a wheel. But hand-building is where you learn how clay behaves, and you can make most things with it.
Clay
For hand-building choose a stoneware with grog (fine sand). It stands up, cracks less and forgives thick-and-thin walls. Buy from a pottery supplier; air-dry clay is a different material and can't be fired or hold water.
Pinch pot
Roll a ball the size of an orange. Push your thumb into the centre, then pinch and rotate, pinch and rotate, working from the bottom up. Aim for even walls a pencil's width thick. Two pinch pots joined rim to rim make a hollow sphere: a rattle, a bird, a bud vase.
Coils
Roll snakes of clay as thick as your finger. Coil on a flat base, score (scratch) both surfaces and add slip (clay slurry) at every join. Smooth inside and out or leave the coils showing.
Slabs
Roll clay between two guide sticks to get an even thickness. Cut shapes with a knife, let them firm up to leather hard, then score, slip and join edges. Cylinders, boxes, plates.
Score and slip, every time
Unjoined clay separates in the kiln. Scratch, slurry, press, wiggle, smooth. No exceptions.
Drying and firing
Dry slowly under loose plastic for a few days, then uncovered. Fully dry pieces are bisque fired (around 1000°C), glazed, then glaze fired (1220–1260°C for stoneware). No kiln? Community studios, colleges and many potters offer firing services.
Glazing
Wax the foot. Dip for even coverage, or brush three coats. Wipe the base. Glaze that touches the kiln shelf is expensive.
Post your first pinch pot and, months later, your first bowl that holds water.
0 comments
Log in to join the conversation.