Lino printing at the kitchen table: carve, ink, print
From a first cut to a small edition of prints, using soft-cut lino and water-based inks.
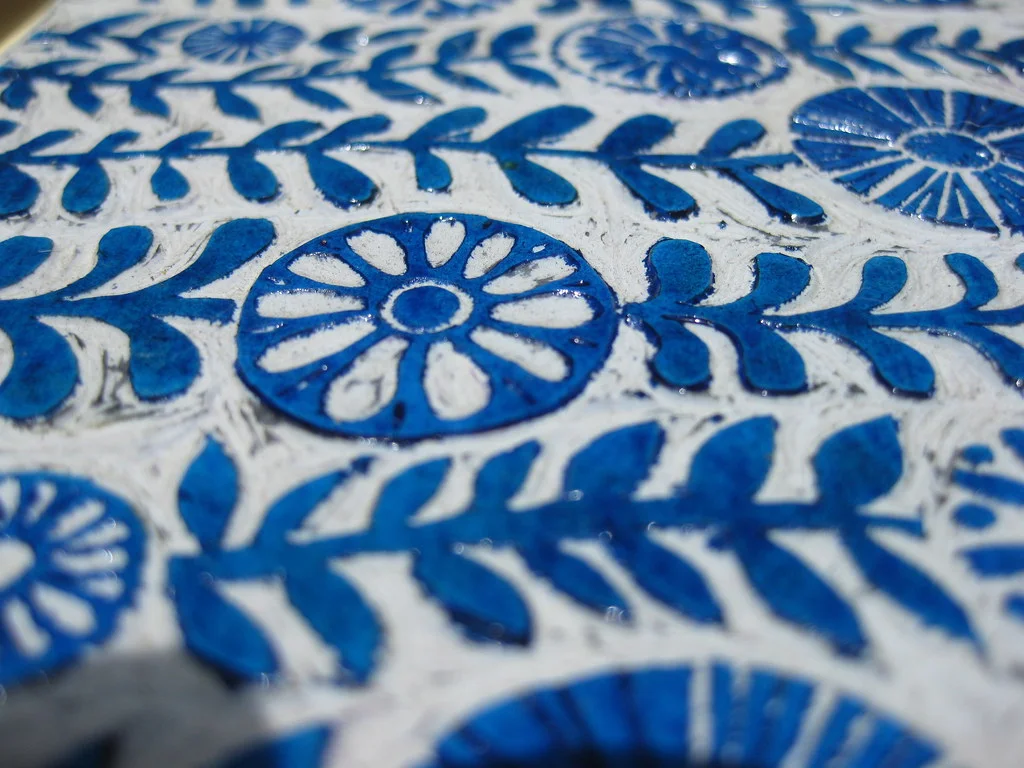
Lino printing gives bold, graphic results with a kit that fits in a drawer. Here's the start-to-finish process.
Design
Keep it simple and high contrast. Remember: what you carve away stays white, what you leave prints. Text must be reversed. Transfer your drawing with carbon paper or by scribbling pencil on the back and tracing.
Carving
Use soft-cut lino or grey lino warmed on a radiator. Start with a V tool for outlines, then a U gouge to clear areas. Always carve away from your hand. A bench hook or a non-slip mat stops the block sliding.
Inking
Squeeze a line of water-based block printing ink on a glass or acrylic sheet. Roll it out with a brayer until it sounds like Velcro and looks like velvet. Roll evenly over the block in several directions.
Printing
Lay paper on the block (or the block on the paper). Rub firmly with a baren or the back of a wooden spoon in circles. Peel back a corner to check before lifting fully.
Paper
Smooth, lightweight paper prints most easily: Japanese papers, cartridge paper, even good copier paper for proofs.
Editions
Number prints as 1/10, 2/10 and so on, sign in pencil below the image. Keep the first as your artist's proof.
Ideas
- A botanical leaf study in one colour.
- A two-block print: carve a second block for a background colour.
- Christmas cards. Start in October.
Post your block and your print side by side.
0 comments
Log in to join the conversation.