Handmade cards that don't look homemade: layers, proportions and clean edges
Five habits that make card making look polished: card stock weight, layering, bone folding, alignment and restraint.
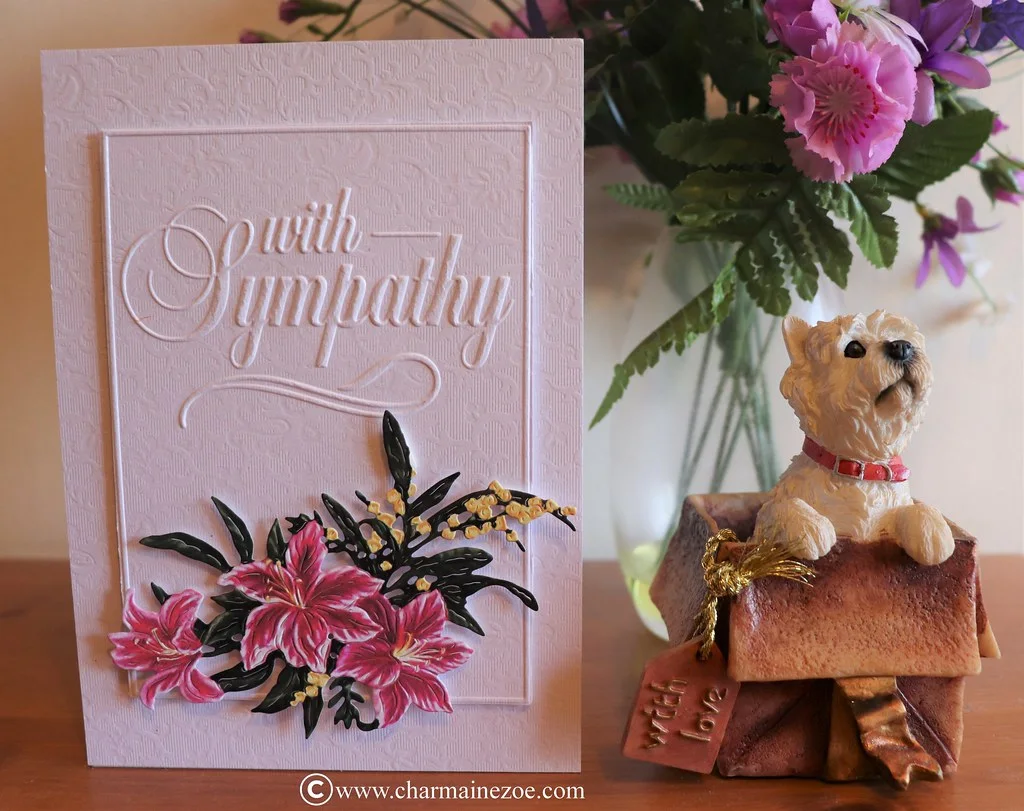
The gap between charming and slapdash in card making is mostly technique, not talent.
1. Use proper card stock
The base card should be 300gsm or heavier. Anything lighter flops. Layers can be 160–220gsm.
2. Score before you fold
Run a bone folder or the back of a butter knife along a ruler before folding. A crisp fold instantly looks shop-bought.
3. Layer with even margins
A classic layout is a base card, a mat layer 5mm smaller on every side, then a focal panel another 5mm in. Use a ruler and a grid mat; eyeballing is where things go wrong.
4. Adhesive that doesn't show
Double-sided tape for panels, foam pads for anything you want to lift, and a fine-tip glue for sentiments. Never a glue stick on card stock; it warps.
5. Restraint
One focal image, one sentiment, one or two accents. Leave white space. The best cards have less on them than you think.
Quick techniques
- Heat embossing: ink, powder, heat gun. Instant metallic sentiment.
- Ink blending with a soft brush over a die-cut mask for a sunset background.
- Stitched edges with a sewing machine and no thread in the bobbin for a faux stitched border.
- Die cutting a word and inlaying it back into the panel for a flush look.
Sizes
Standard UK card blanks: A6 (105x148mm) and square 148mm. Buy envelopes first, then cut cards to fit.
Photograph your cards in daylight at a slight angle to show the layers.
0 comments
Log in to join the conversation.