Paper quilling: rolling, shaping and your first framed piece
Coil strips of paper into teardrops, marquises and scrolls, then arrange them into a botanical design.
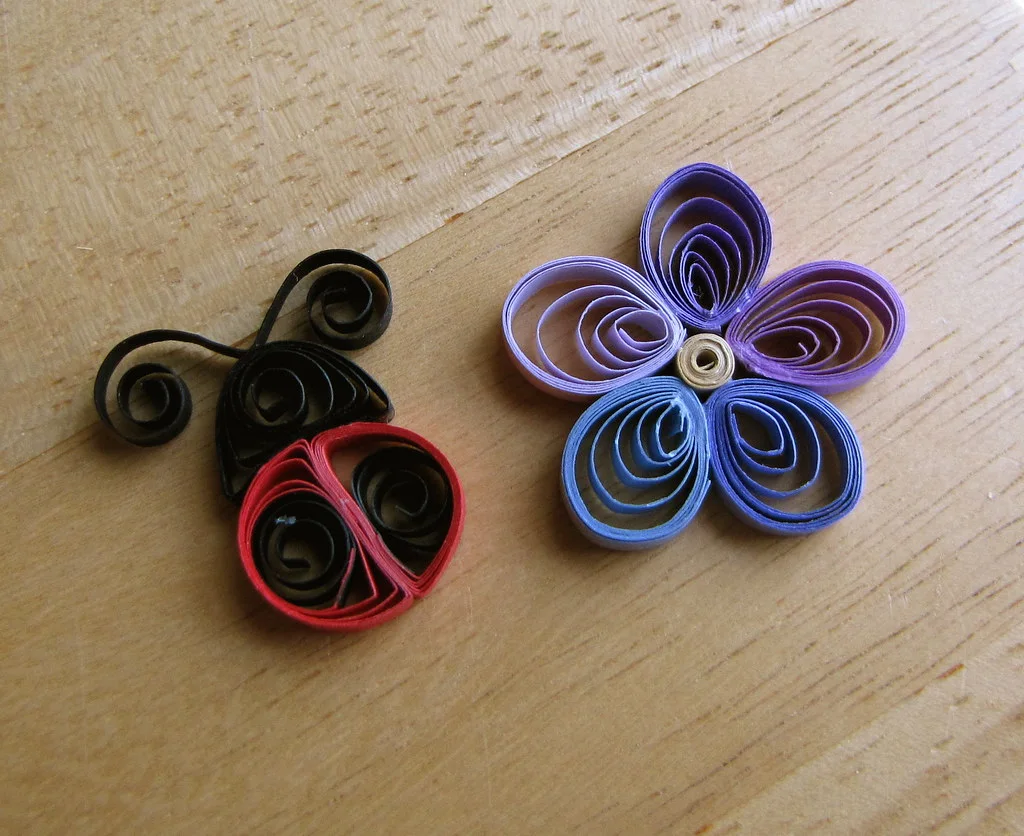
Quilling turns 3mm strips of paper into coils that become petals, leaves and swirls. It needs almost no kit and almost infinite patience.
Tools
A slotted quilling tool (or a needle), pre-cut 3mm or 5mm strips, PVA glue applied with a toothpick or fine-tip bottle, and a cork board with pins for holding shapes.
Basic coils
Slot a strip into the tool, roll to the end, slide off. Loose coil: let it relax, glue the end. Tight coil: glue before it relaxes.
Shapes from a loose coil
- Pinch one side: teardrop
- Pinch both: marquise
- Pinch one and curve: paisley
- Push in the middle of a marquise: half moon
- Pinch two adjacent corners: square
Scrolls are unglued strips rolled partway from each end: S scroll, C scroll, heart scroll.
First design
Sketch a simple stem with leaves and a flower on a card. Make five teardrops in one colour for petals and a tight coil for the centre. Glue in place with the tiniest dab on the edge. Add marquise leaves along the stem. Finish with a couple of scrolls.
Framing
Deep box frames show quilling best. Mount on card, don't press glass against the paper.
Post a close-up. Quilling deserves a macro shot.
0 comments
Log in to join the conversation.