Needle felting: make your first creature (and stop stabbing your fingers)
Core wool, barbed needles, foam block. How to shape, firm up and add colour to a small felted animal.
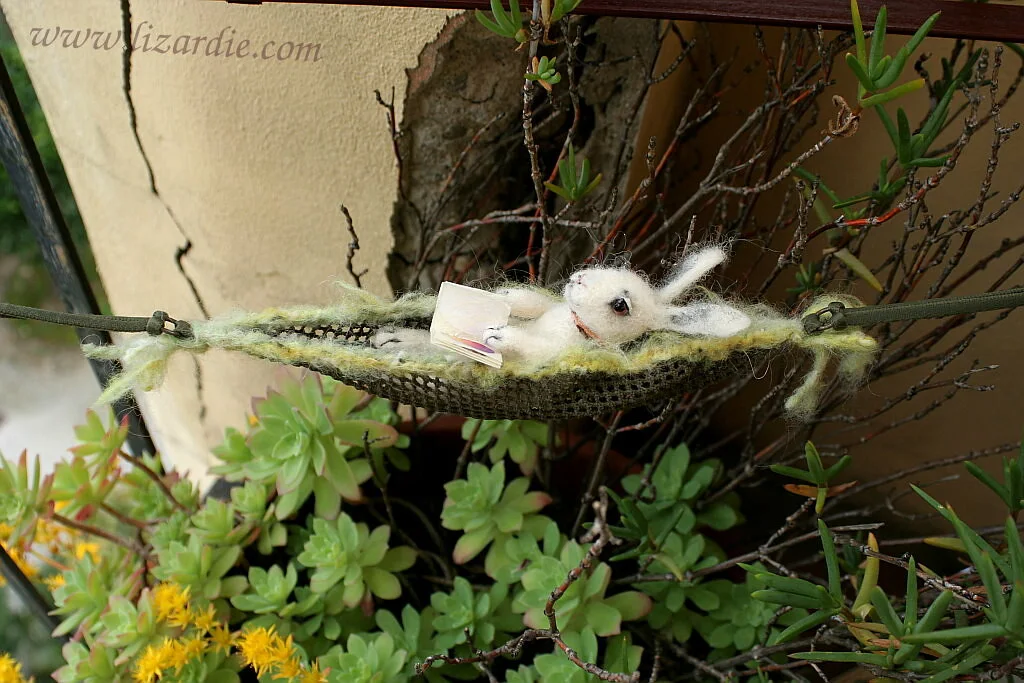
Needle felting is sculpting with wool and a barbed needle. Every stab tangles the fibres a little more. It's slow, meditative, and surprisingly addictive.
Kit
- Core wool (cheap, undyed) for the bulk.
- Coloured merino or corriedale tops for the outside.
- Felting needles: a 38 star for general work, a 40 triangle for fine detail.
- A thick foam block or a brush mat.
- Leather finger guards. Buy them. Use them.
The method
- Tear off a wad of core wool, roll it tightly into an egg, and stab all over, rotating constantly. Shallow stabs, straight in and out; bent needles snap.
- Keep going until it's firm, like a stress ball. Under-felted bodies sag and pull apart later.
- Wrap a thin layer of coloured wool around, felt it down. Add more where needed.
- Make ears, legs and tails separately, leaving loose fibre at one end to attach.
- Attach parts by felting the loose fibres into the body, then refine the join.
Details
- Eyes: black glass beads on a doll needle, or tiny balls of black wool.
- Nose and mouth: a wisp of dark wool, or embroidery thread.
- Blush: a few fibres of pink, barely felted.
Common problems
- Fuzzy surface: stab shallower and more often, or lightly shave with small scissors.
- Lumpy: add wool to the low spots rather than felting the high ones down.
- Broken needles: you're bending them. Straight in, straight out.
Start with a simple mushroom or a round bird before attempting a fox. Then post the fox anyway.
0 comments
Log in to join the conversation.